HTML Basics
- Original tutorial by: Krisjanis Rijnieks
- Your lab name: Aalto Fablab
- License: CC-SA-BY
- Last Review Date: 22 Jan 2019
- Last Modified by: Krisjanis Rijnieks
Summary
During my Fab Academy experience I noticed that many students without background in web development have problems grasping the way HTML is generally taught. Most of the time teachers try to combine HTML (Hyper-Text Markup Language) with CSS (Cascading Style Sheets) and JavaScript. These are three different concepts which would require a week each to introduce.
A website can be build using plain HTML. This tutorial explains you how. At the end of this tutorial you will have a responsive Fab Academy documentation website made with pure HTML that looks good on all devices.
Step 1. Understanding What is HTML
HTML is a markup language initiated by Tim Berners-Lee. First publicly available description is dated with the year 1991, but there was an ongoing discussion before that. The initial purpose of HTML was to improve the way documents would be shared between CERN scientists.
The first specification of HTML contained 18 elements. Later first browsers were created with different sets of HTML and the difference led to browser wars. Since every browser interpreted HTML differently, for early web designers it was very hard to make a single web site look the same on all major web browsers.
However HTML is less about web design as it is about structure of a document. If we think about a document as a book or academic article, every one of them has a title, headings and paragraphs of text. The concept of hyper-text enabled to create hyper-links that would make it easy for the reader to access references.
Step 2. Creating a HTML Document
HTML document is a plain text file, usually with an extension .html. In order to edit a HTML document you will need a text editor such as one of the following.
Create a new directory somewhere on your computer. html is a good name for it. Then create a new file into it. With one of the above mentioned text editors it should be possible to create a file with the extension .html. You should end up with a file structure as follows.
html
└── index.html
I am calling the file index.html because usually it is the first file your web browser is looking for when you open a website.
By using your text editor, add the following content to the index.html file and save it.
<h1>Hello!</h1>
<p>Welcome to my Fab Academy documentation website!</p>
Open it in your web browser of choice. If it does not open in the browser on double-click, you can always use the File > Open menu from within the browser. You should see the following.

Congratulations! You just made your first website!
Step 3. Understanding Basic Tags
HTML is written using tags. Most of the tags have an opening tag (such as <h1>) and a corresponding closing tag (such as </h1>). In-between the opening and closing tag there is content. The browser reads the tags and based on them decides how content should be displayed.
<h1> tag stands for Heading 1. It describes the topmost level of headings. If you think of a HTML document as a book, chapters usually have sections and sub-sections. Every consequent sub-section has a heading with an increased number.
<h1>Chapter 1</h1>
<h2>Section 1.1</h2>
<h3>Sub-Section 1.1.1</h3>
...
<h6>Least Important Heading</h6>
The <p> tag stands for Paragraph of text. A section in a book usually consists of paragraphs of text, images and tables. Usually there are more than one paragraph of text.
<h1>Introduction</h1>

<p>This section is here to give an introduction of the current state of mind.</p>

<p>The current state of mind is about to declare that all tags are equal, however there are facts that prove that being wrong.</p>

<p>The comitee has decided to postpone the decision about his matter as there is nothing to decide.</p>
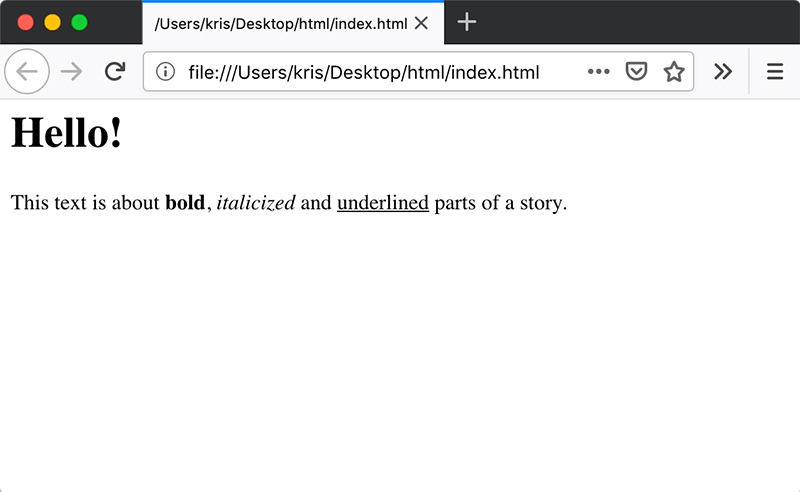
The content between the opening <p> and closing </p> tags can be emphasized by using one of the supporting tags <b> that stands for bold, <i> that stands for italics or <u> that stands for underline. When you use them within a HTML paragraph, they can be called nested tags.
<p>This text is about <b>bold</b>, <i>italicized</i> and <u>underlined</u> parts of a story.</p>
Below is an image where you can see how it should look like. Feel free to use your text editor to try it out yourself.
Step 4. Attributes and Image Tag
There are HTML tags that require a few attributes to be set. One of such tags is the <img> or image tag. In a real-life scenario it would look as follows.
<img src="image.jpg">
It is also one of the HTML tags that do not require a closing tag. Try to copy any .jpg image to the same directory where your index.html file so that the file structure of your project looks as the following.
html
├── image.jpg
└── index.html
Let's put the <img> tag into context.
<h1>Hello!</h1>
<p>This text is about <b>bold</b>, <i>italicized</i> and <u>underlined</u> parts of a story.</p>
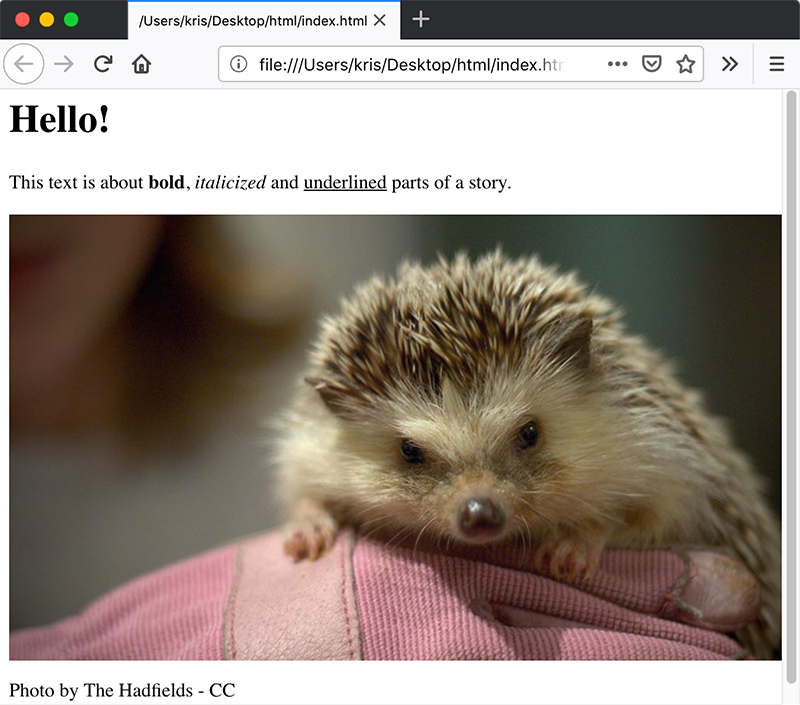
<img src="image.jpg">
<p>Photo by The Hadfields – CC</p>
After saving index.html, it should look similar to the screenshot below. You should see the image that you used.
You can specify the size of the image by using the width and height attributes of the <img> tag. The follwing will make your image responsive or in simple terms it will automatically adjust to the width of your browser window.
<img src="image.jpg" width="100%">
Step 5. Using Lists
Lists are an important part of any scientific drama. How to make separate conceptual elements not blur with the surrounding text? Use lists!
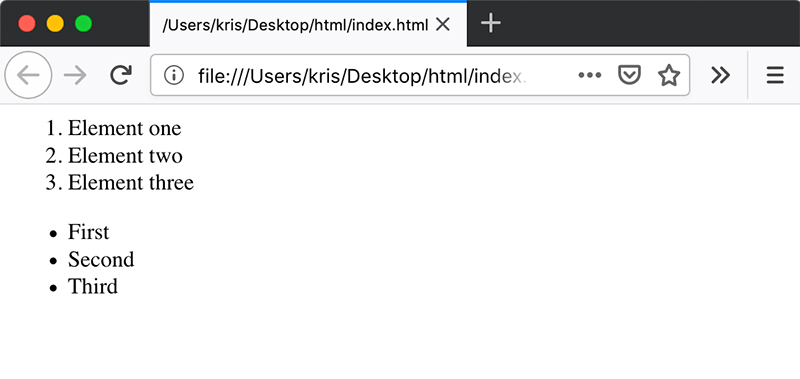
Most used types of lists are the ordered list (<ol>) and unordered list (<ul>). Each list contains a list of elements (<li>). In real HTML scenario it looks as in the following example.
<ol>
    <li>Element one</li>
    <li>Element two</li>
    <li>Element three</li>
</ol>

<ul>
    <li>First</li>
    <li>Second</li>
    <li>Third</li>
</ul>
In the case of ordered list, you do not have to add numbers. According to the HTML specification, browser has to do that automatically depending on the order of elements. The HTML code above should look similar as in the image below, when opened in a web browser.
In the code example above you can also see an example of nesting. Usually nested elements are preceded with either 4 space characters or a TAB.
Step 6. Exploring Tables
HTML <table> element was ruling the web design universe during the 1990s. Before CSS came along, <table> element was the ultimate tool for creating complex website layouts. The <table> element is not enough to create a real table with rows and columns. <tr> is used to define rows and <td> are defining the columns.
Below you can see code that defines a simple HTML table.
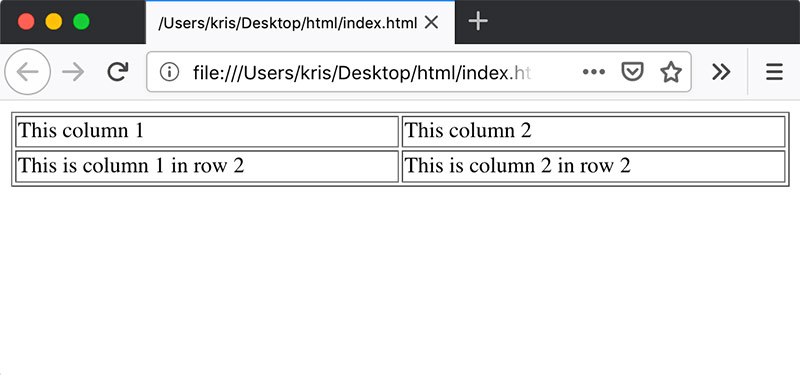
<table>
    <tr>
        <td>This column 1</td>
        <td>This column 2</td>
    </tr>
    <tr>
        <td>This is column 1 in row 2</td>
        <td>This is column 2 in row 2</td>
    </tr>
</table>
In the browser it should look like in the image below.

You can also add borders and make it responsive by adding border and witdh attributes like so.
<table border="1" width="100%">
    <tr>
        <td>This column 1</td>
        <td>This column 2</td>
    </tr>
    <tr>
        <td>This is column 1 in row 2</td>
        <td>This is column 2 in row 2</td>
    </tr>
</table>
It should look as in the image below.
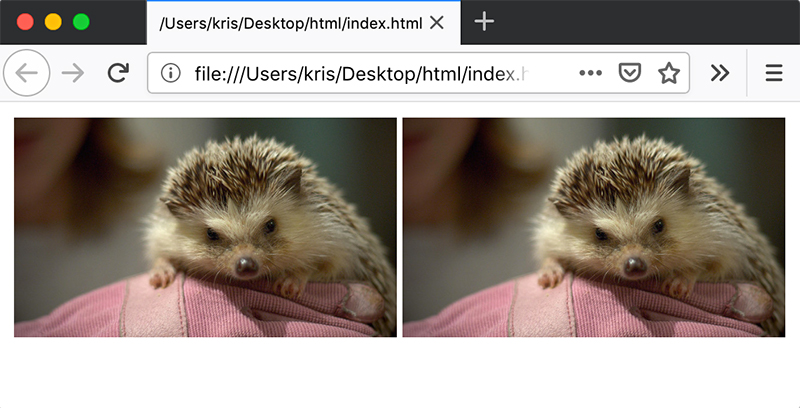
You can also use tables to show multiple images next to each other. Often it is the case when you do Fab Academy documentation. Example below. I am using the same image as in the example above.
<table width="100%">
    <tr>
        <td>
            <img src="image.jpg" width="100%">
        </td>
        <td>
            <img src="image.jpg" width="100%">
        </td>
    </tr>
</table>
And below is how it looks like. In order to have a perfect 50/50 alignment, both of the images should be the same size in pixels.
Some people will want to remove the gap between the images. It is caused by two attributes of the <table> element, cellspacing and cellpadding. Adjust the <html> part of the code above to match the example below and there should be no gap no more.
<table width="100%" cellspacing="0" cellpadding="0">
Step 7. Adding Document Structure
In a real-life scenario we will need a few more HTML tags to get the job done. There are tags that define the structure of a HTML document. It starts out with the doctype or document type. Obviously, it is HTML.
<!doctype html>
It is not enough to tell the browser that it is going to be a HTML document by having a doctype. We need to use the <html> document tag also.
<!doctype html>
<html></html>
As you can see the <html> tag has a closing tag </html>. Between these tags there comes the invisible part of the website <head> and visible <body>.
<!doctype html>
<html>
    <head></head>
    <body></body>
</html>
In the <head> part we can define important information about our document, such as the <title> and other <meta> information. Below I am adding a title of the document and some important meta-information for my browser to display it in the way I want.
<!doctype html>
<html>
    <head>
        <title>Kris Does Fab Academy</title>
        <meta charset="utf-8">
        <meta name="viewport" content="width=device-width">
    </head>
    <body></body>
</html>
The <meta charset="utf-8"> tells the browser to take into account exotic characters, such as ā, ä or ß. The <meta name="viewport" content="width=device-width"> tells the browser to limit the width of the page to the width of the screen of the device (computer, tablet or phone display).
Finally in the <body> part we can add our visible content. Let it be our About page.
<!doctype html>
<html>
<head>
<title>Kris Does Fab Academy</title>
<meta charset="utf-8">
<meta name="viewport" content="width=device-width">
</head>
<body>
<h1>Kris Does Fab Academy</h1>
<p>Welcome to my Fab Academy documentation website!</p>
<h2>About</h2>
<p>My name is Kris. I am the author of this tutorial. Below you can see images of me (left) and my cat (right).</p>
<table width="100%" cellspacing="0" cellpadding="0">
<tr>
<td>
<img src="me.jpg" width="100%">
</td>
<td>
<img src="cat.jpg" width="100%">
</td>
</tr>
</table>
<p>© Krisjanis Rijnieks 2019</p>
</body>
</html>
Replace text as you like to match your personality, but at the end of it in the browser it should look similar as in the image below.

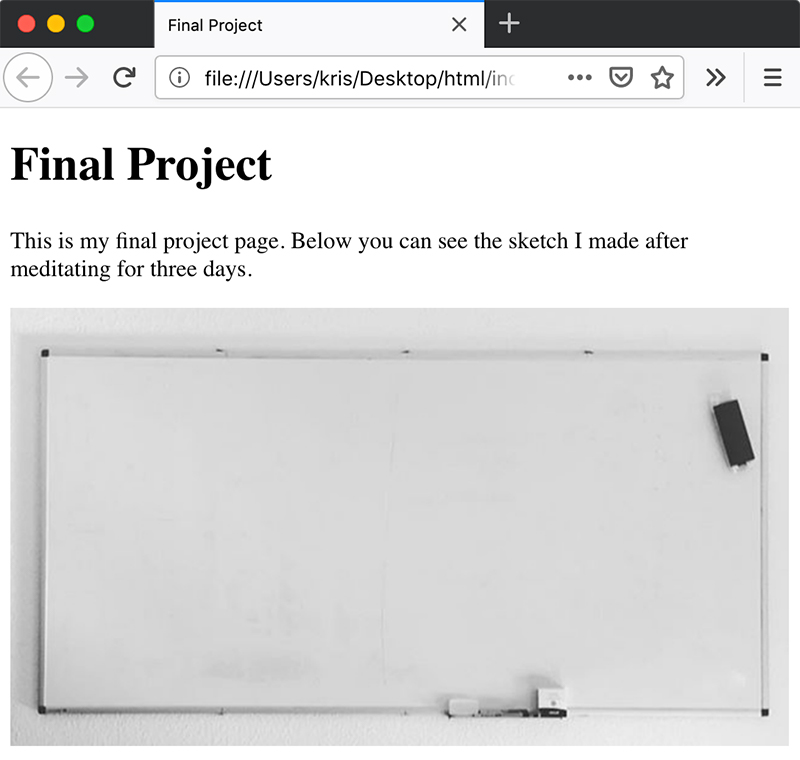
Step 8. Adding Final Project Page
Assuming that you have created your final project sketch, we can now create a HTML page for it. What you have to do is to copy the index.html file and rename the result to final-project.html.
Remember: HTML and the web in general does not like file names with spaces. Capitals are not welcome in most cases also.
The directory structure of our project should look similar to the one below (I excluded the image files here).
html
├── index.html
└── final-project.html
By copying it you will make sure that it has the exact structure as the About page. Change it to describe your final project, similar to the way it is done below.
<!doctype html>
<html>
    <head>
        <title>Final Project</title>
        <meta charset="utf-8">
        <meta name="viewport" content="width=device-width">
    </head>
    <body>
        <h1>Final Project</h1>

        <p>This is my final project page. Below you can see the sketch I made after meditating for three days.</p>

        <img src="final-project-sketch.jpg" width="100%">
    </body>
</html>
The code above in the browser.
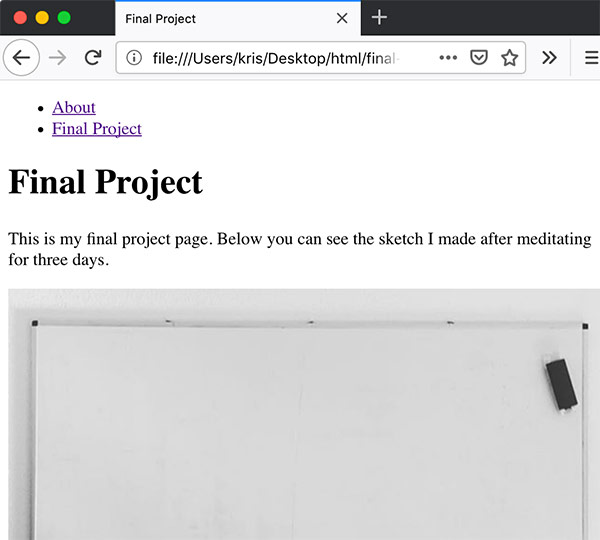
Step 9. Hyperlinks and the Menu
HTML is Hyper-Text Markup Language, not just Text Markup Language. Its power hides into the ability to form hyperlinks between HTML documents.
Sections of a website are usually connected via hyperlinks. It is usually done by using a menu that is visible on all the pages. Links in HTML are described with the <a> tag which has a closing part </a>.
<a href="final-project.html">Final Project</a>
Above you can see a link that will take us to the final project page. If we put it in the index.html page, it looks as follows.
<!doctype html>
<html>
    <head>
        <title>Kris Does Fab Academy</title>
        <meta charset="utf-8">
        <meta name="viewport" content="width=device-width">
    </head>
    <body>
        <a href="final-project.html">Final Project</a>

        <h1>About</h1>
        <p>My name is Kris. I am the author of this tutorial. Below you can see images of me (left) and my cat (right).</p>

        <table width="100%" cellspacing="0" cellpadding="0">
            <tr>
                <td>
                    <img src="me.jpg" width="100%">
                </td>
                <td>
                    <img src="cat.jpg" width="100%">
                </td>
            </tr>
        </table>
    </body>
</html>
You should see a link to the final project page in the browser.

What you will notice after you click on the link is that there is no way to go back! In order to fix that, we are going to improve the existing menu in index.html file and copy it over to the final-project.html.
<ul>
    <li>
        <a href="index.html">About</a>
    </li>
    <li>
        <a href="final-project.html">Final Project</a>
    </li>
</ul>
It is your challenge to figure out how and where to place it in both pages so the outcome looks like in the images below.
 |
 |
Problems Faced and Solutions
Images do not show up
Make sure that your images are in the same directory with the
.htmlfiles.The page layout is broken. Especially after I added the
<table>.Check if for each opening tag (such as
<td>) there is a closing tag (such as</td>). Use an online HTML validator if in trouble.